Director – Universal Payment Processor Choice
In addition to collecting cash, check, and Stripe payments, you now have the option to use any payment processor you choose. Once added to your event, this custom link will also be added to the team locker, inside the acknowledgment email to the registrant, and as your link for e-payment inside TourneyEngine. Please Note: Cash, Check, and/or Stripe or Custom – You cannot use select Stripe AND the Custom payment processor for the same event/division.
To direct customers to a different payment processor, other than the built-in Stripe, first go to the payment page of the processor and copy the payment link or page URL.
You will then take that link and add it to the Event/Division (you can also add different links for each division) and your customers will be taken to your custom payment page.
Add Custom Payment Link to a New Event
If this is a new event, you will find “Payment Link” as an option in the Payment Option section. Check the box and add your payment link in the next line. Please Note: You can add different links for each division; however, the event must already be created. Please keep reading to see how this can be done.

Add Custom Payment Link to an Existing Event or Specific Divisions
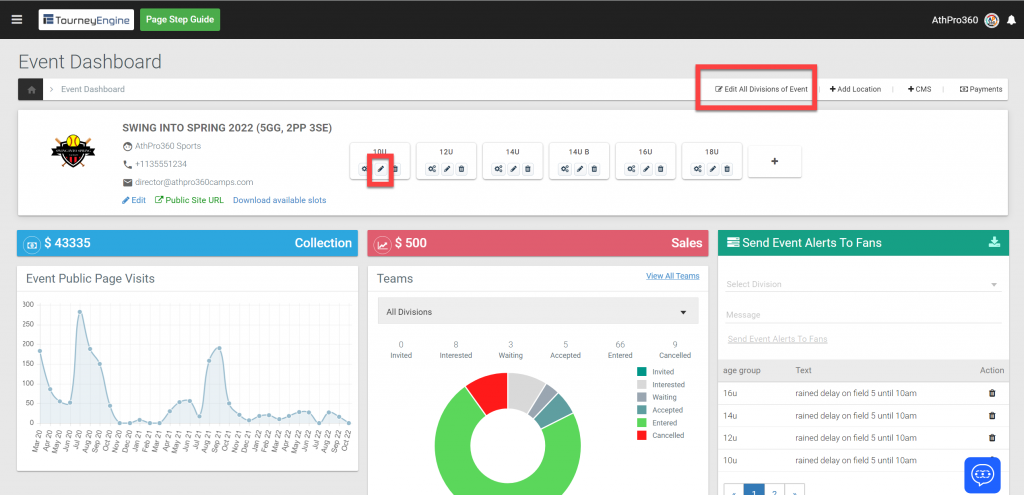
If this is an existing event, you can update the event’s payment by going to the Event Dashboard and clicking on Edit All Divisions of Event or on the Edit (pencil) button for a specific division.
In the single division edit window, you will find “Payment Link” as an option in the Payment Option section. Check the box and add your payment link in the next line. This payment link will only apply to the division you are currently editing.

In the Edit All Divisions window, you can select and add the custom “Payment Link” in the Payment Option section for each division.
